How to set up the Shop into the tour?
You can easily create a Shop in your virtual tour by adding Snipcart integration to your Tour or using your WooCommerce site if you already have one.
Select Render Walk → List Tours from the side menu and click the Edit button on the desired tour.

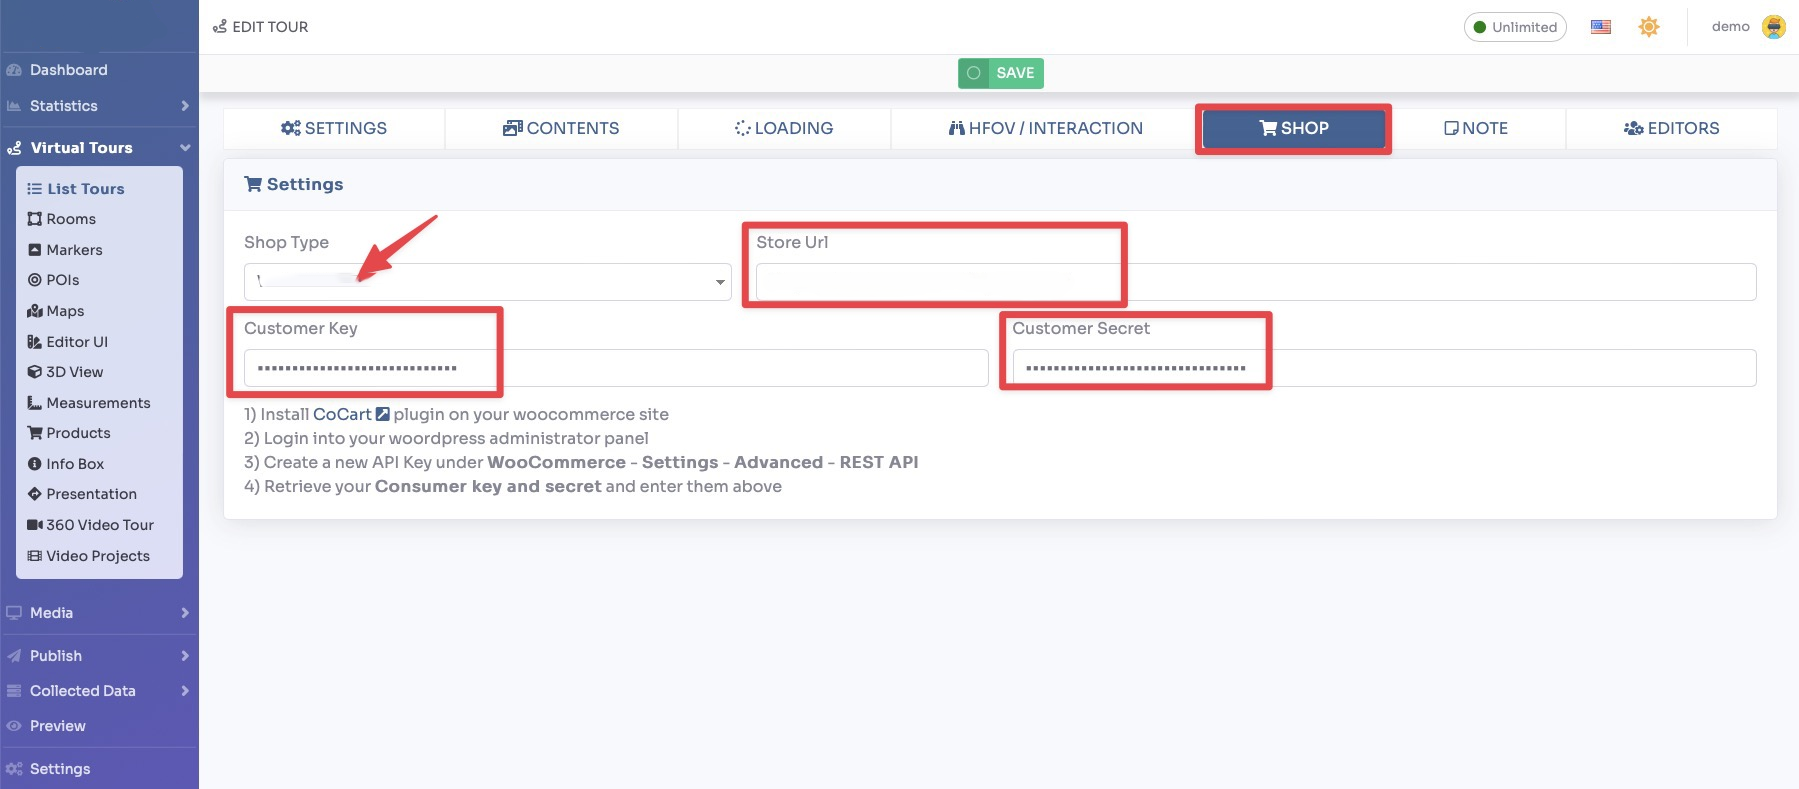
Go to tab Shop.
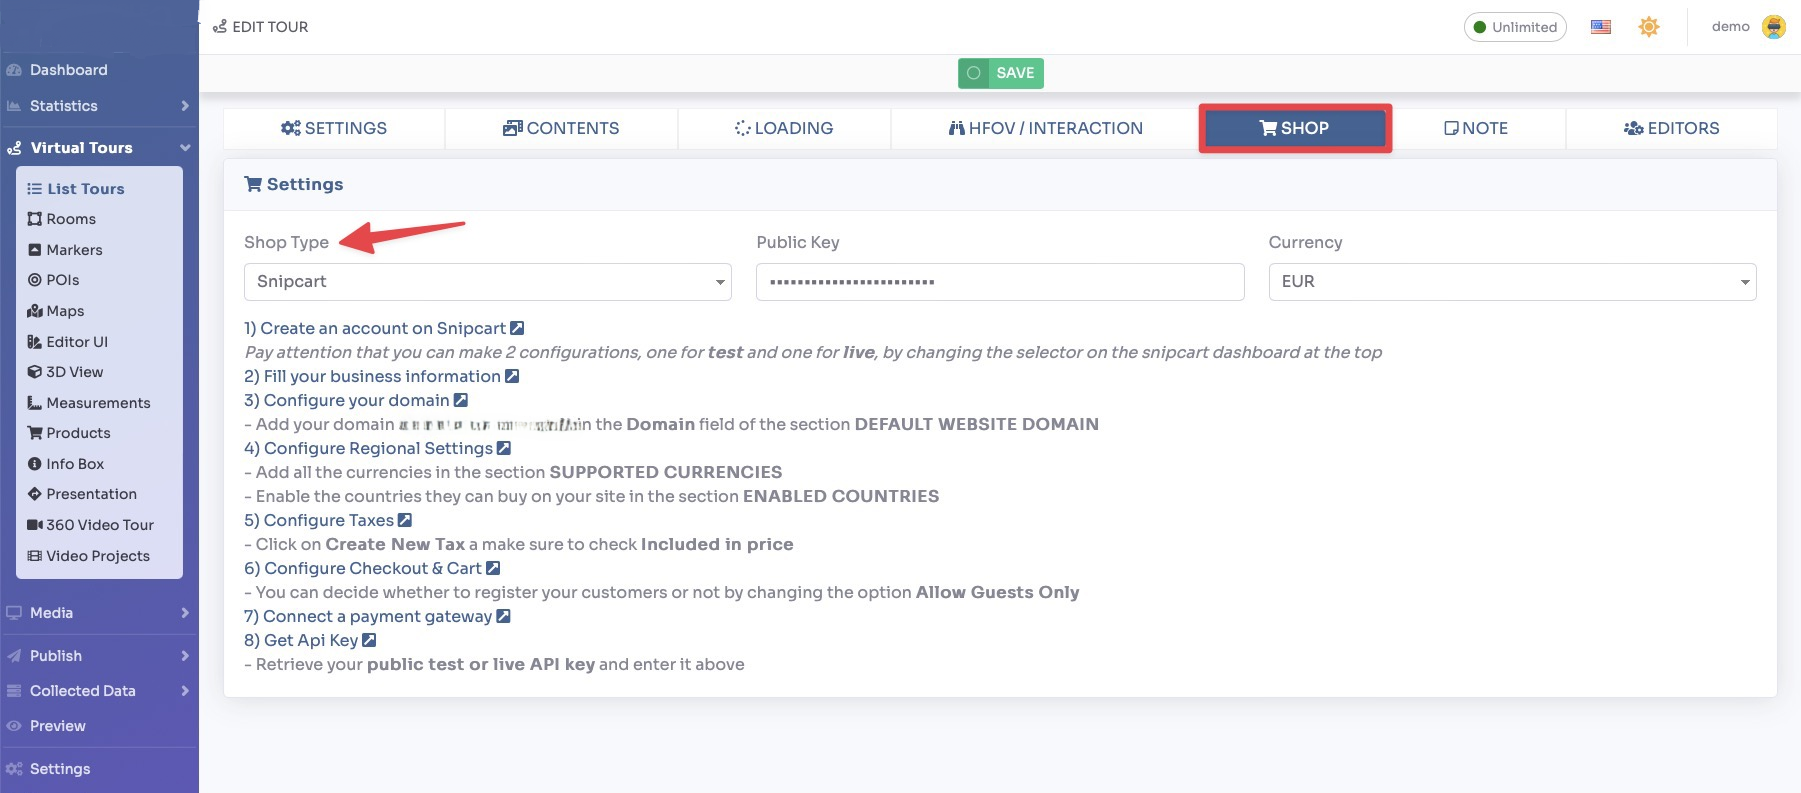
In this menu you can see the steps required to add a Shop to your tour. You can choose between two Shop Type integrations.
SNIPCART
You can find more information on how to create the Snipcart account and configure it by following the steps described.
After you're done you can add your Public Key and select Currency from the dropdown picker.
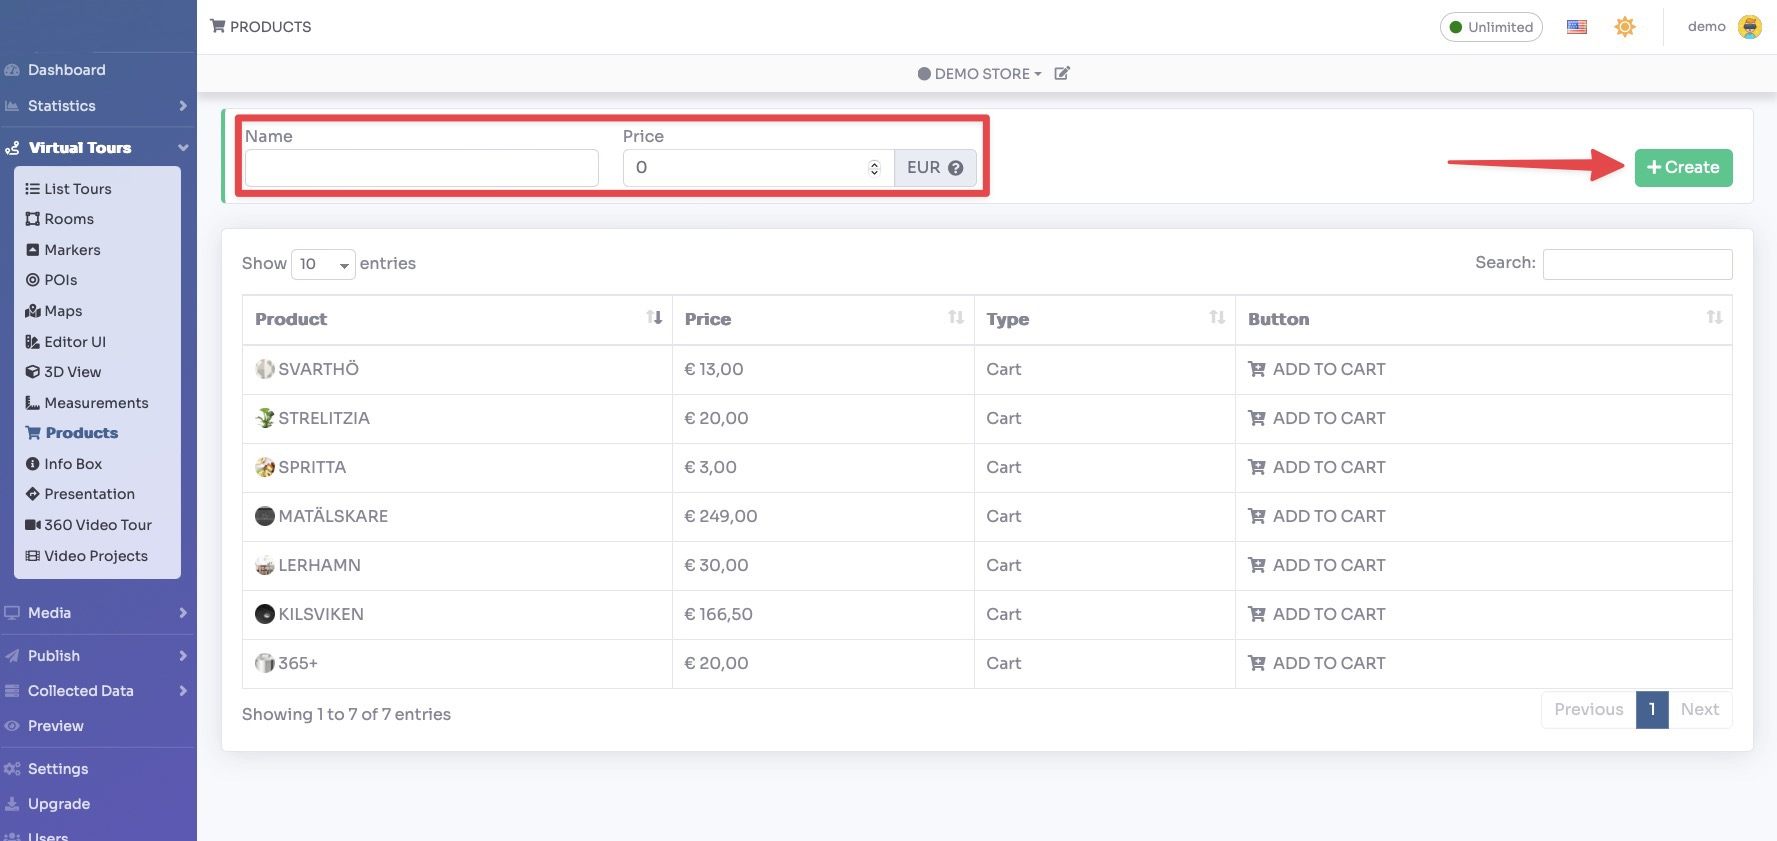
To create a product, select Render Walk → Products from the side menu.
To add a new Product, enter the name and the price and click the “Create” button.
Now you will be taken to the Product editing page, where you can change the description and add some images to it.
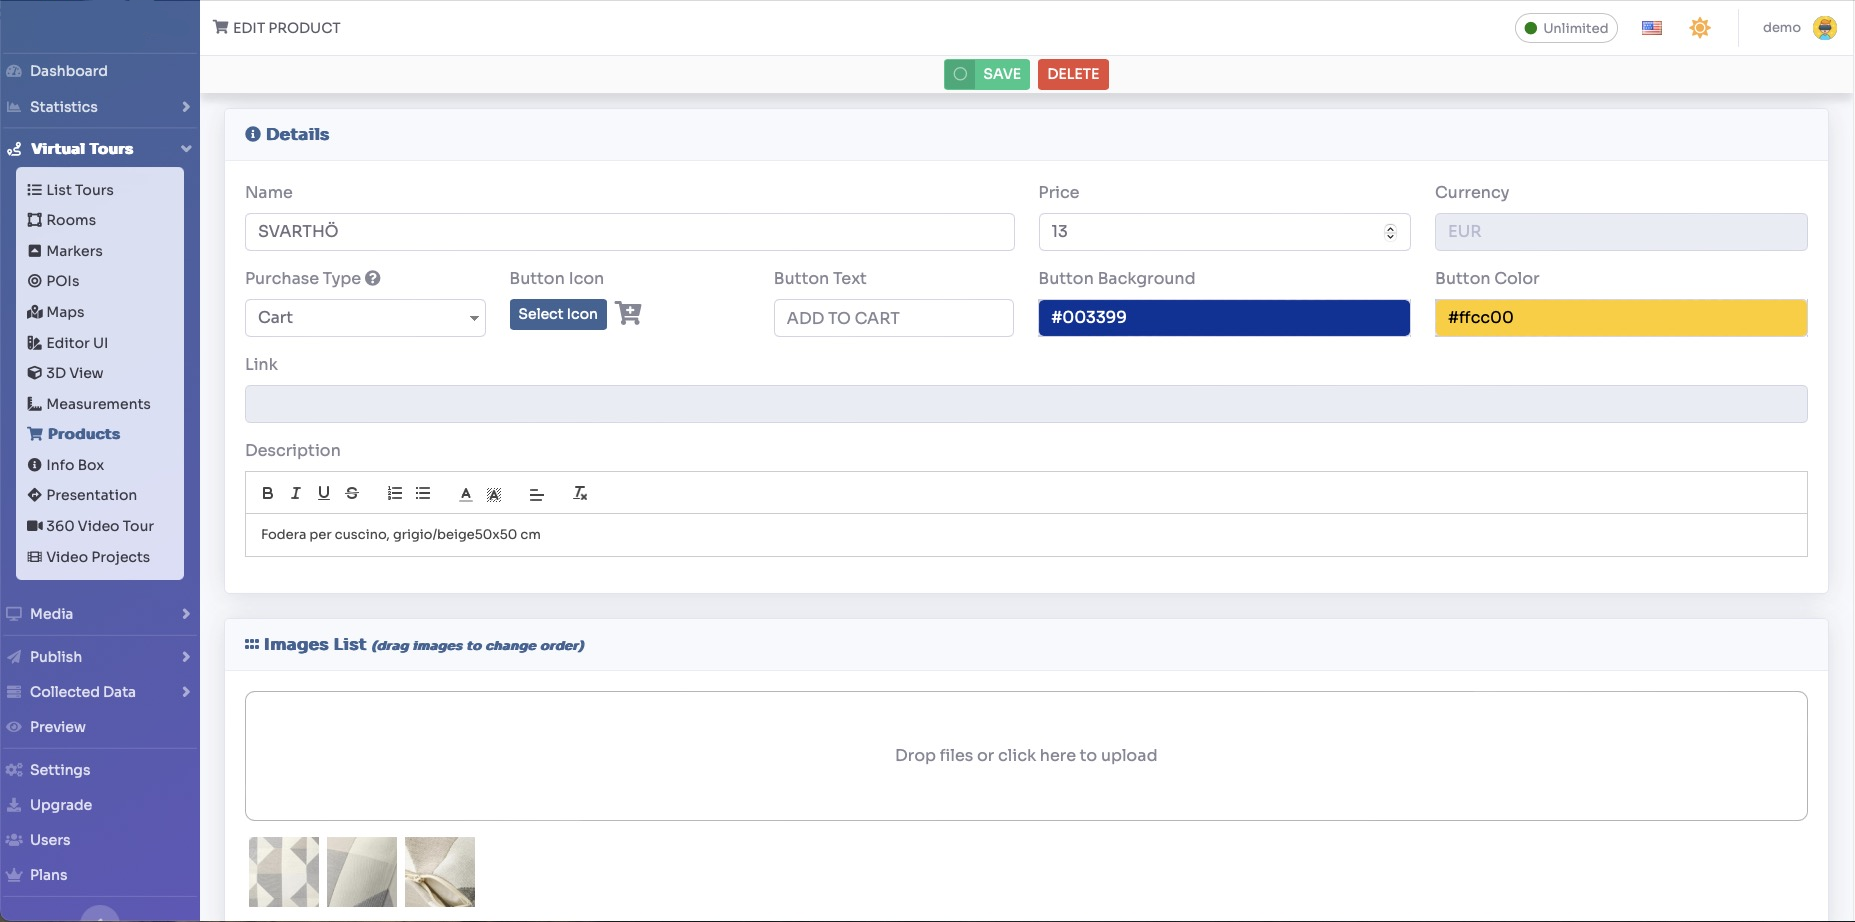
When you're done click the Save button at the top of the page.
WOOCOMMERCE
You need to install the CoCart plugin into your WordPress installation.
Enter the url address into Store Url, and the API Customer Key and Secret of your WooCommerce Store.
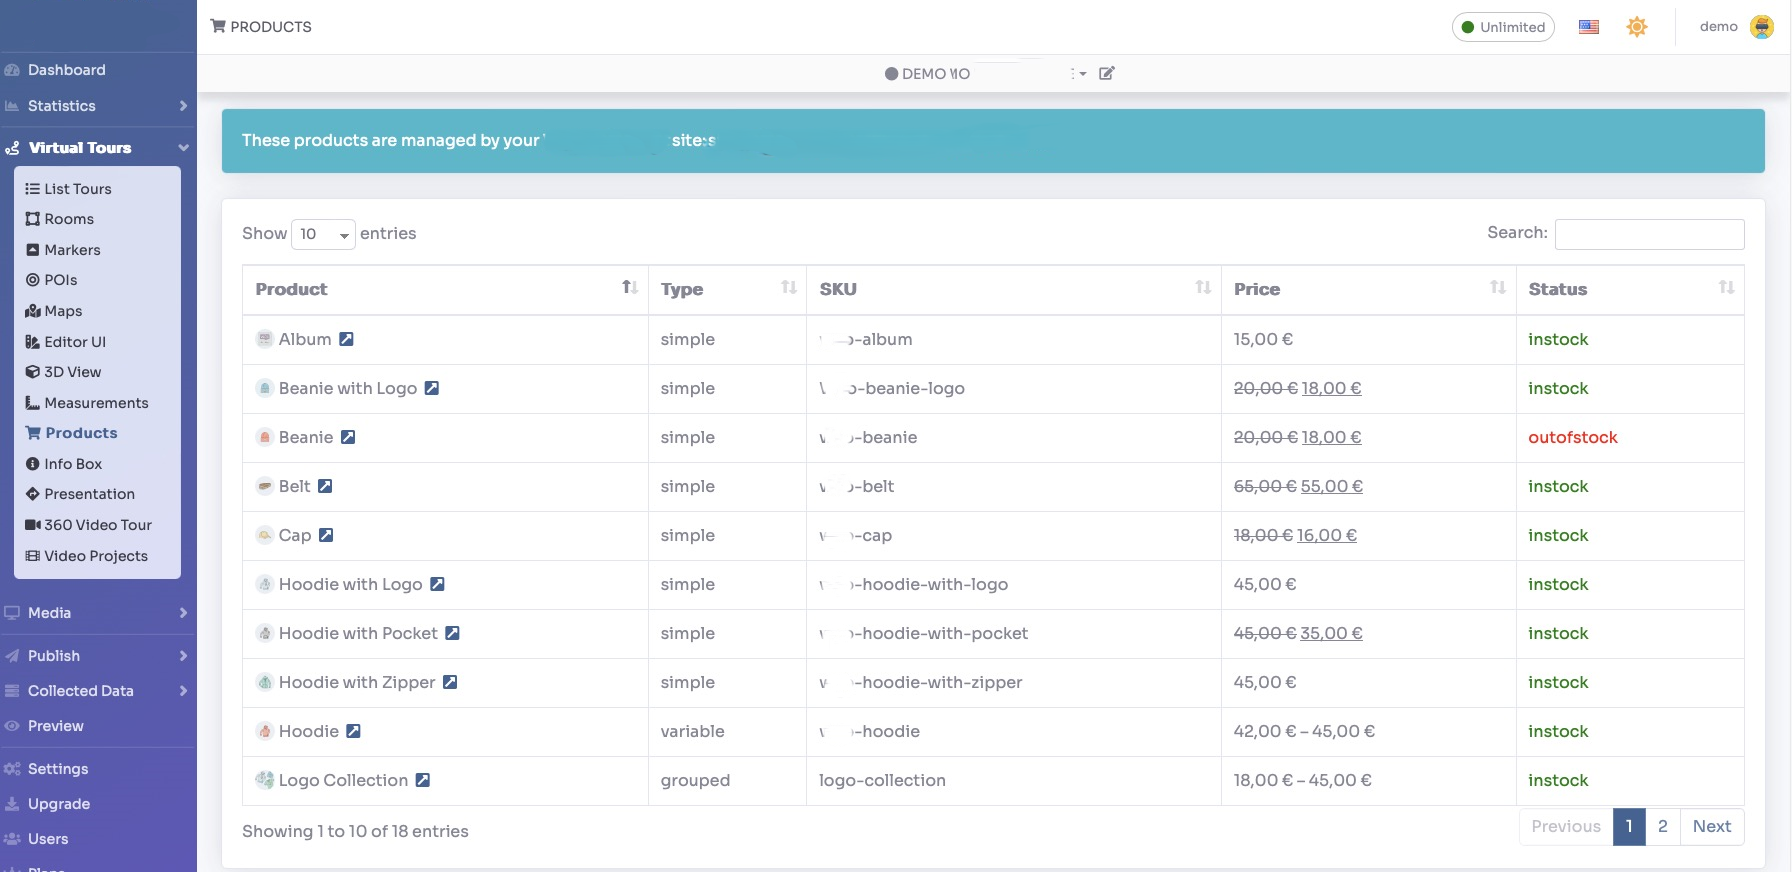
To view the products of your Store, select Render Walk → Products from the side menu.
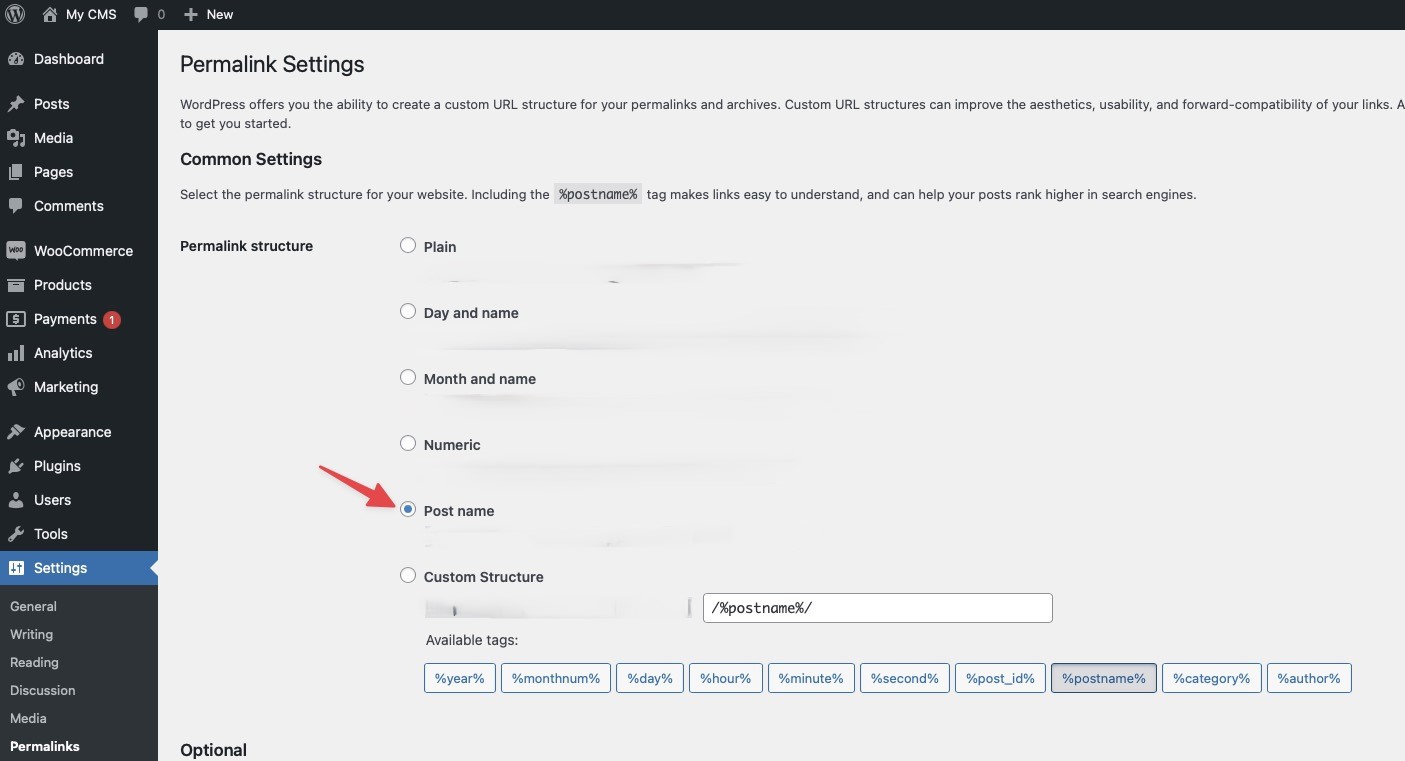
N.B. If you get a JSON syntax error, go to your WordPress administration panel → Settings → Permalinks. Set Permalink Structure as Post name.
ADD PRODUCTS INTO THE TOUR
Now you need to create a POI and link it to the desired product.
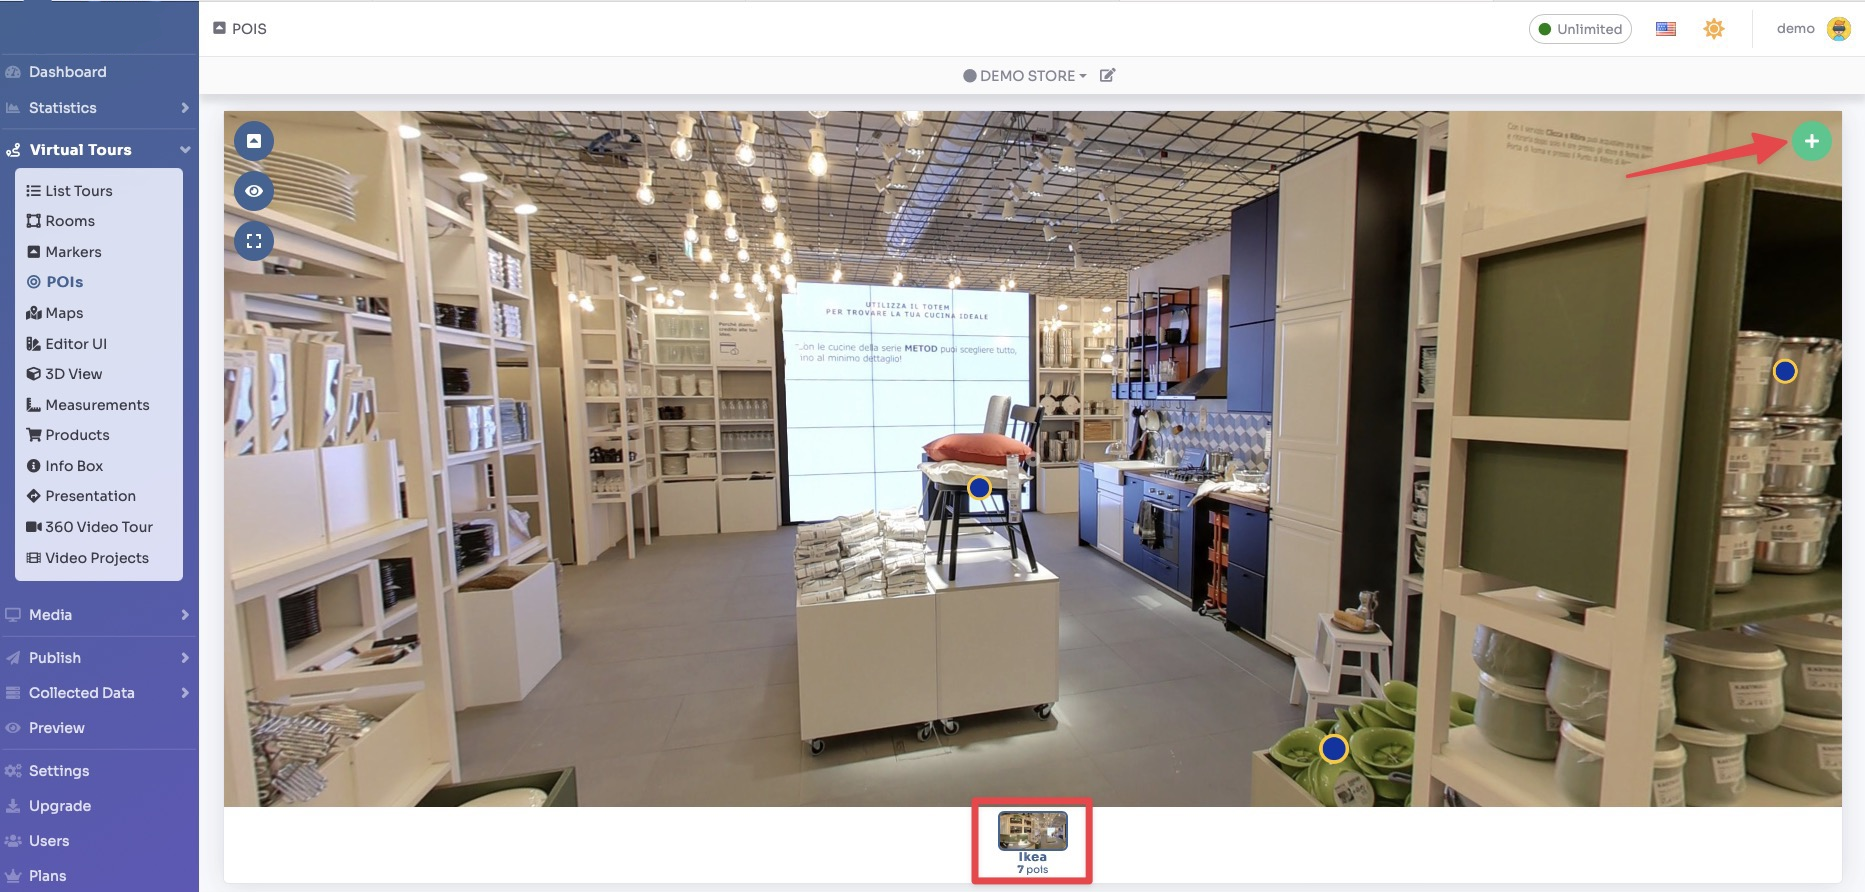
Select Render Walk → POIs from the side menu.
Select the room you want to add the Product to and click the button “+” on top right.
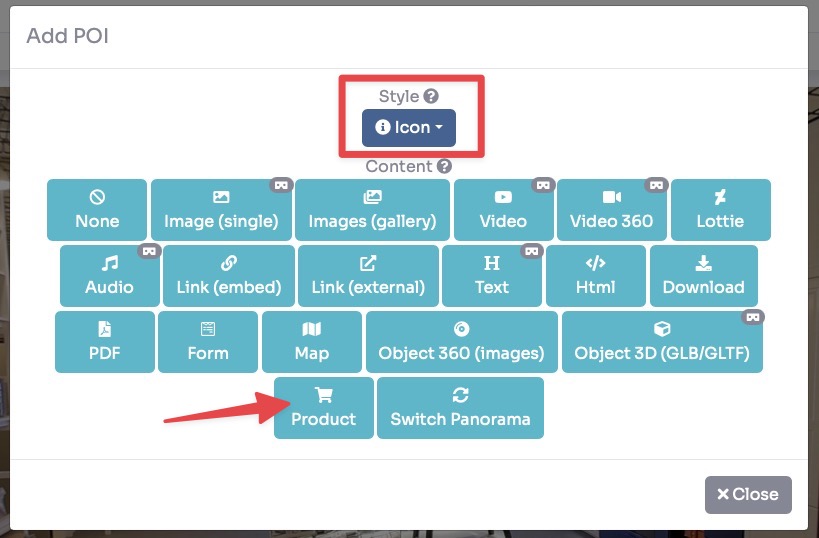
Select the Style of the POI and click “Product” button into.
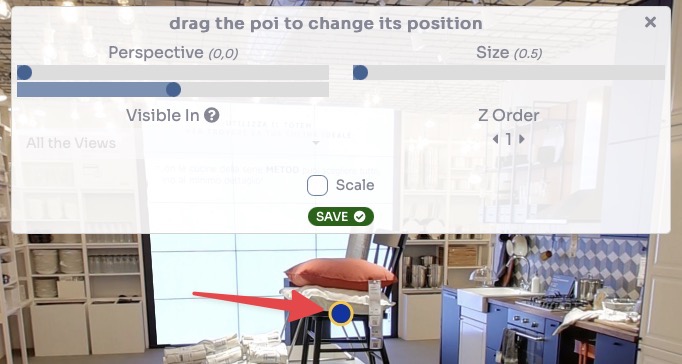
Drag the POI's icon to change the location of the Product and then click Save.
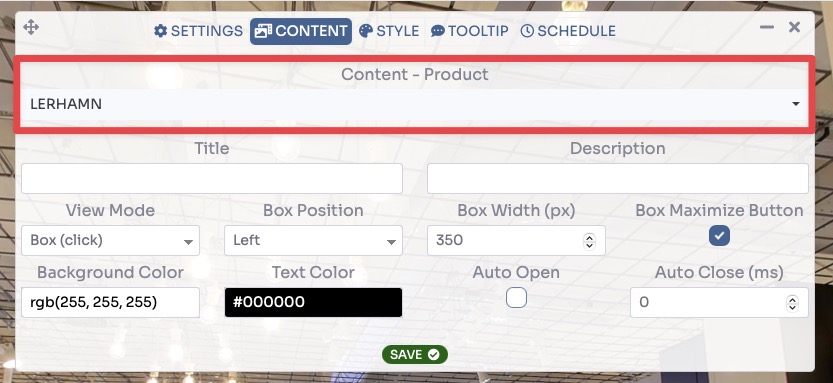
As a last step you need to select the product in the Content — Product field to assign to the POI and click Save.
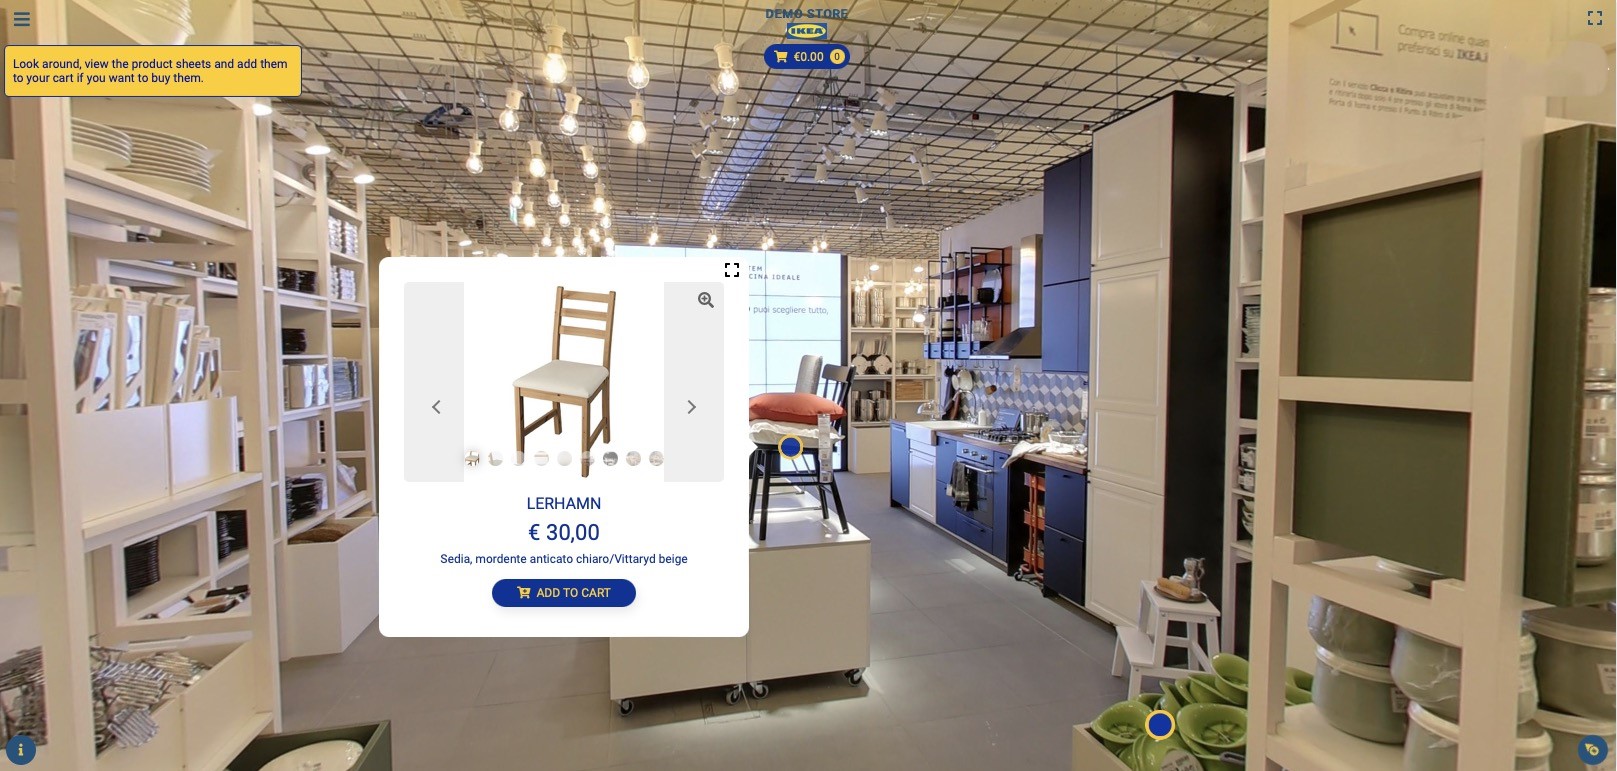
Now your product is ready to be sold. This is the end result: