How to change the transition between Rooms?
You can change the transition between rooms for the whole Tour or for one room only.
Select Render Walk → List Tours from the side menu and click the Edit button on the desired tour.

Then scroll down to the Transition section.
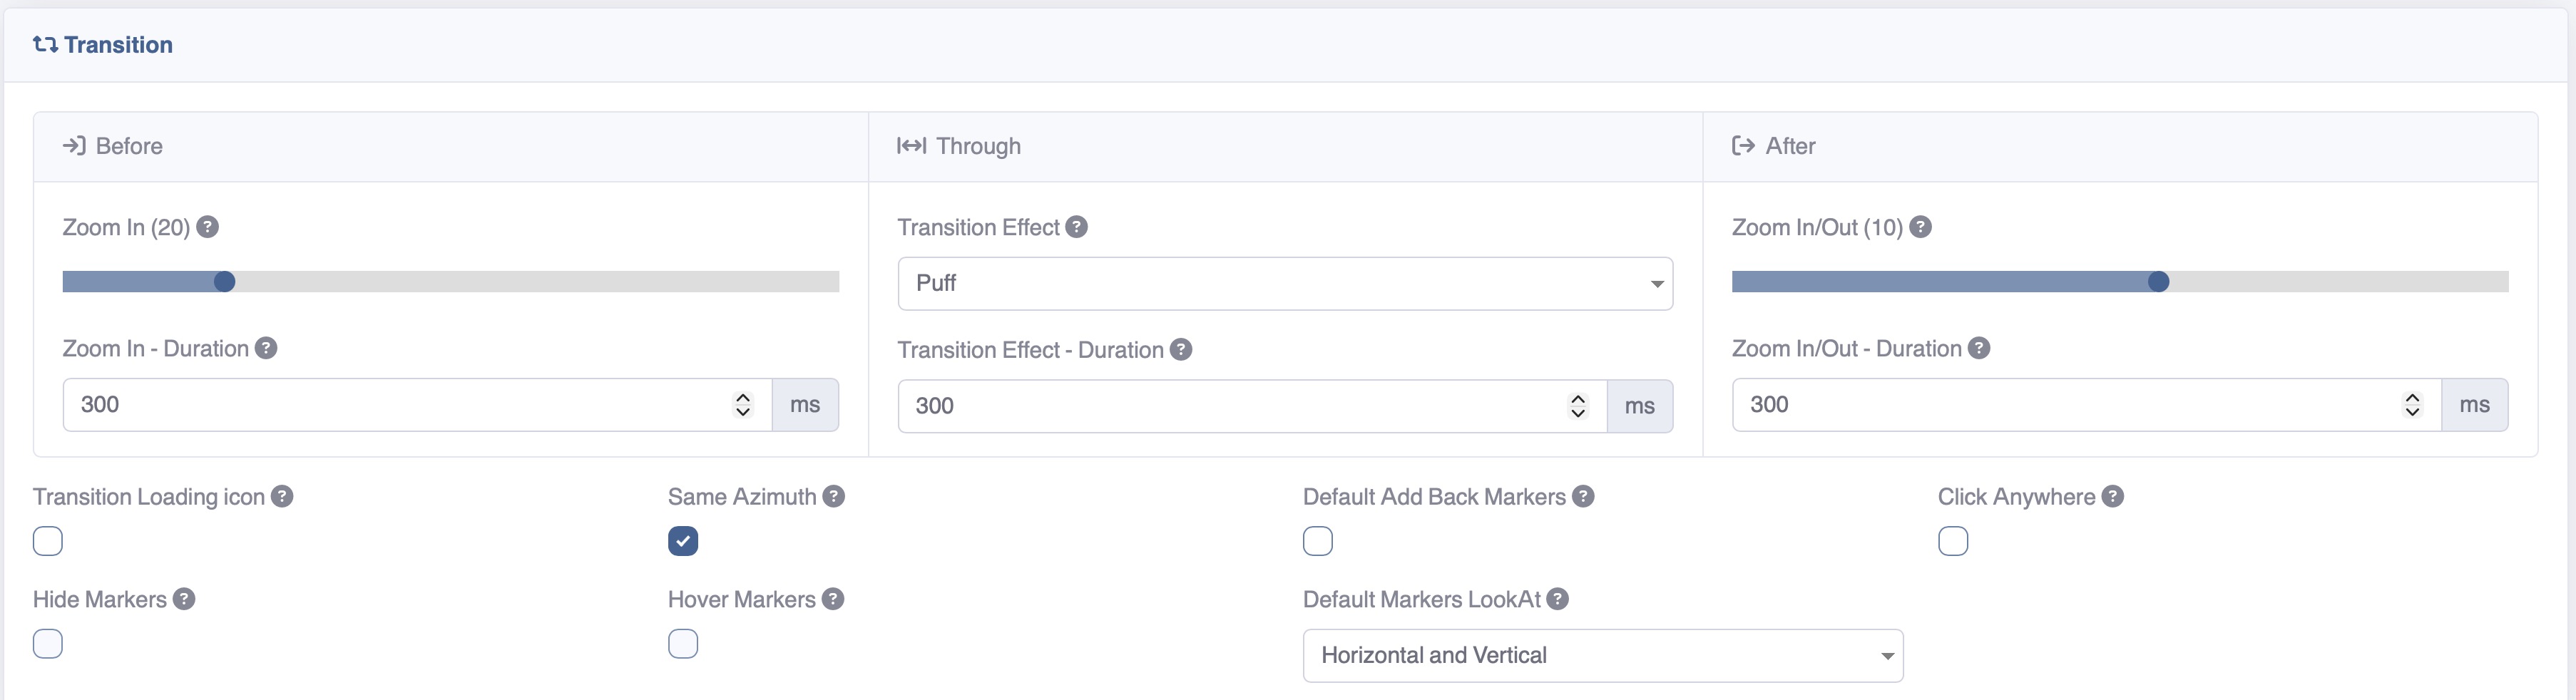
In here you can change the way your tour will be displayed during transitions between Rooms, change the UI element during loading animation and view settings after the new room is loaded.
There are 3 sections that control the transition:
- First: the duration and the level of zoom to the next room
- Through: the duration and type of effect between one room and another
- After: the duration and zoom level after entering the next room
These are the other settings:
- Transition Loading Icon — Shows the loading icon before loading rooms
- Same Azimuth — Maintain the same direction with regard to north while navigating between rooms (you must set the north position in all rooms)
- Default Add Back Markers — Set default ‘Add Marker to go back’ setting when adding a new marker
- Click Anywhere — Allows you to click near the marker to go to the corresponding room
- Hide Markers — Hide all the markers (only when Click Anywhere is enabled)
- Hover Markers — Shows hidden markers when approaching them with the mouse
- Default Markers LookAt — Set default ‘lookat’ setting when adding a new marker
After you've made changes click Save on top of the page.
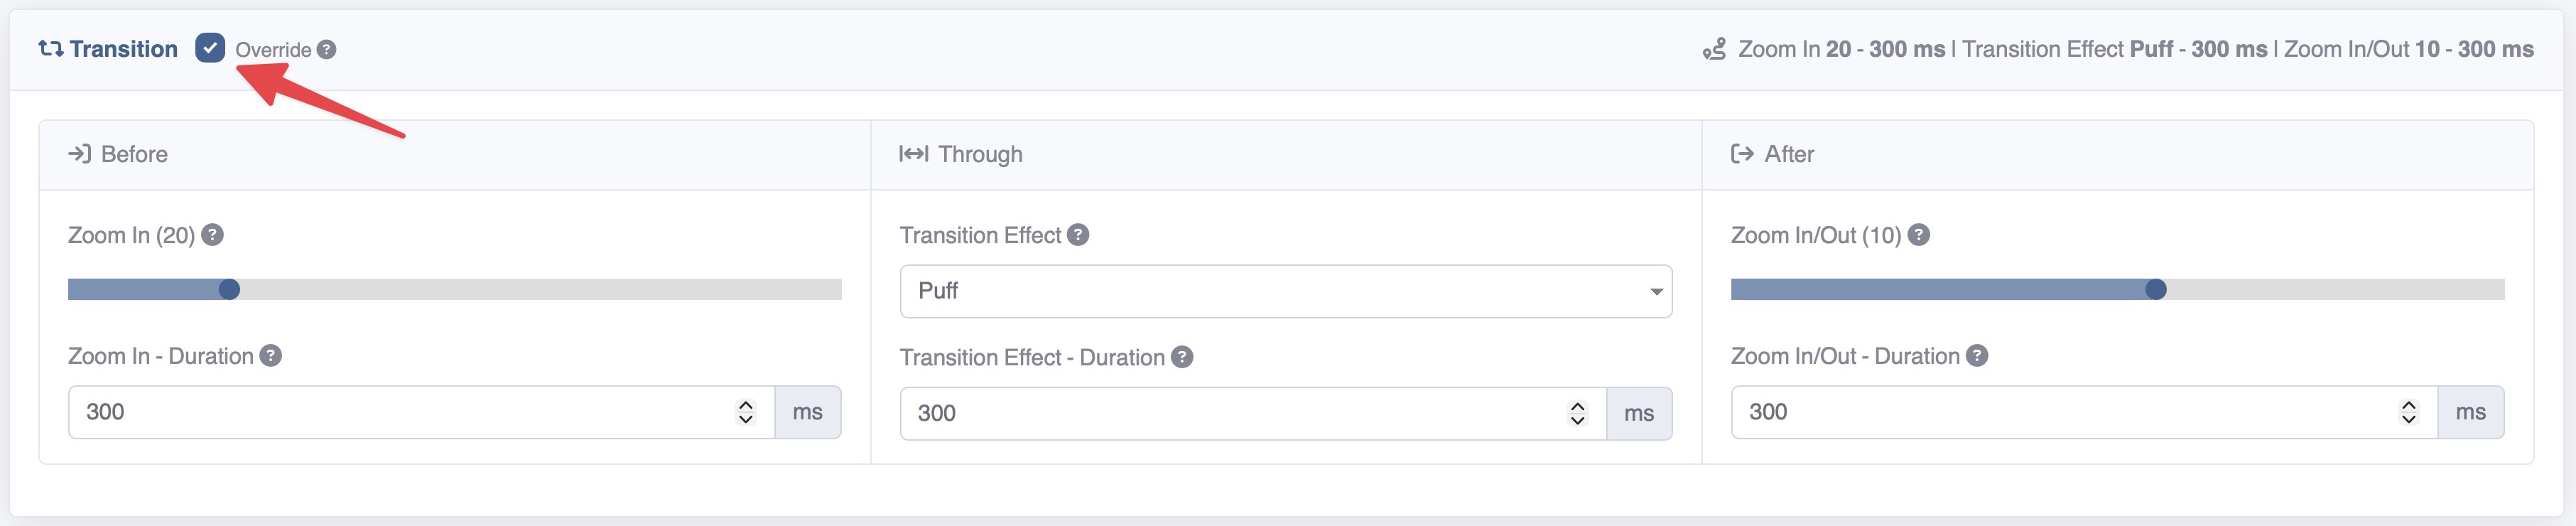
Another way to change the transition is to set a transition for a single room by overriding the tour transition settings.
Select Render Walk → Rooms from the side menu and click the Edit button on the desired room.

Once in the room settings scroll down to the Transition section and click on the Override button. This will replace the visual transition effects you have set for the whole Tour.
After you've made changes click Save on top of the page.