Custom Domains

This allows you to set up and use different domains for different content, such as the backend, as well as for tours, showcases, maps, etc.
First go to Render Walk → Administrator → Settings → Custom Domain and enable it.
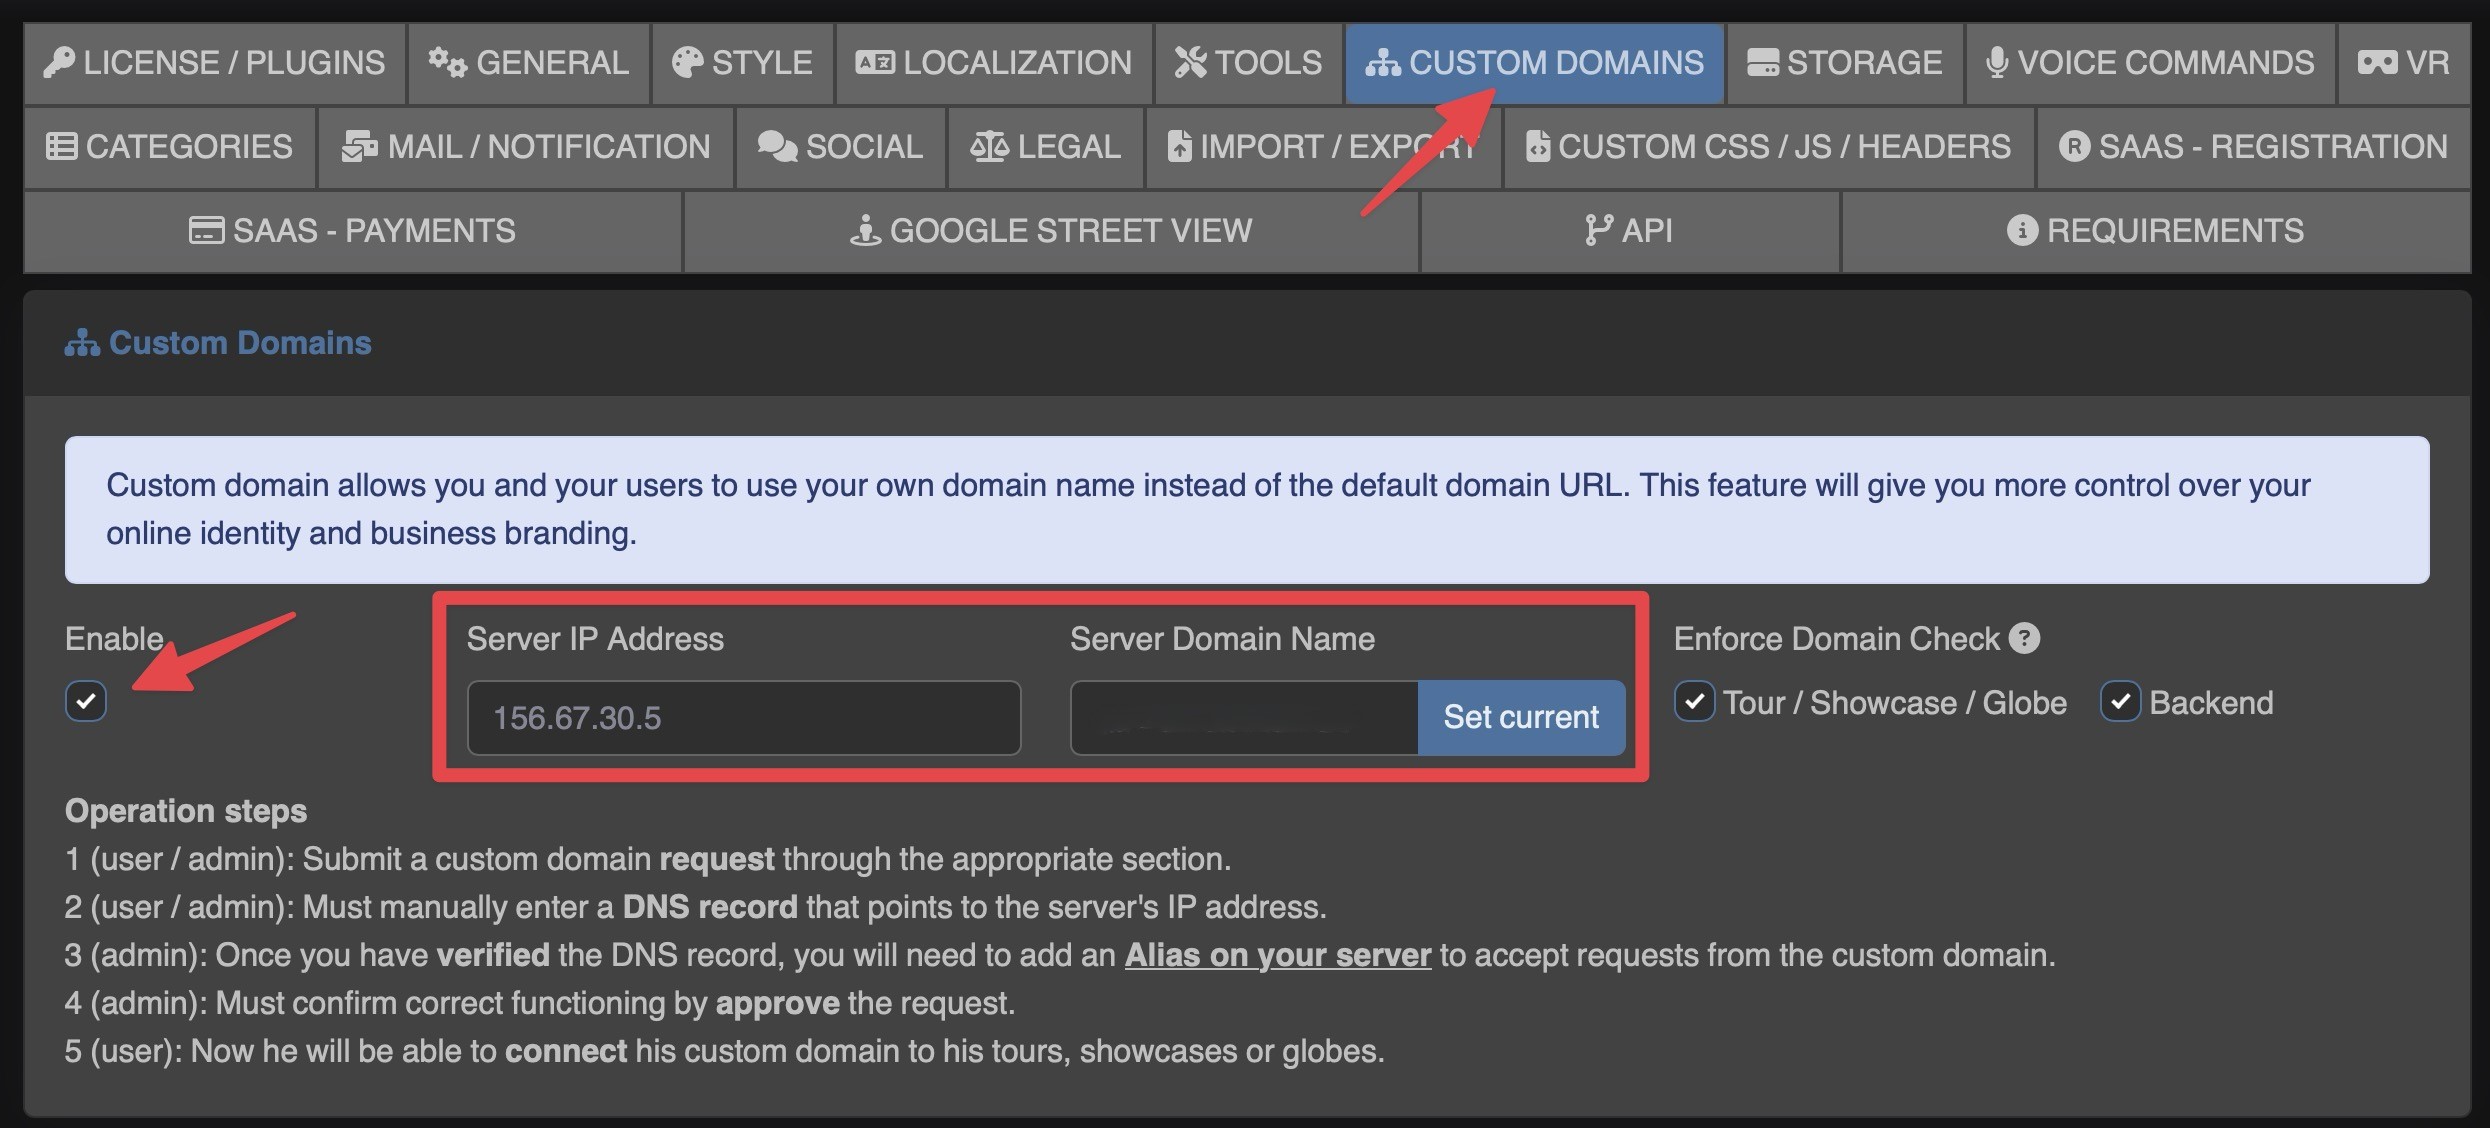
Also fill in your server IP address and server domain name.
Optionally you can check Enforce Domain Check, to limit access only to connected custom domains.
The end user or the administrator must then send a request for adding a new custom domain.
To do so, go from the side menu to the Custom Domains item and send a new request, entering the domain name and clicking on the "VERIFY AND ADD" button.
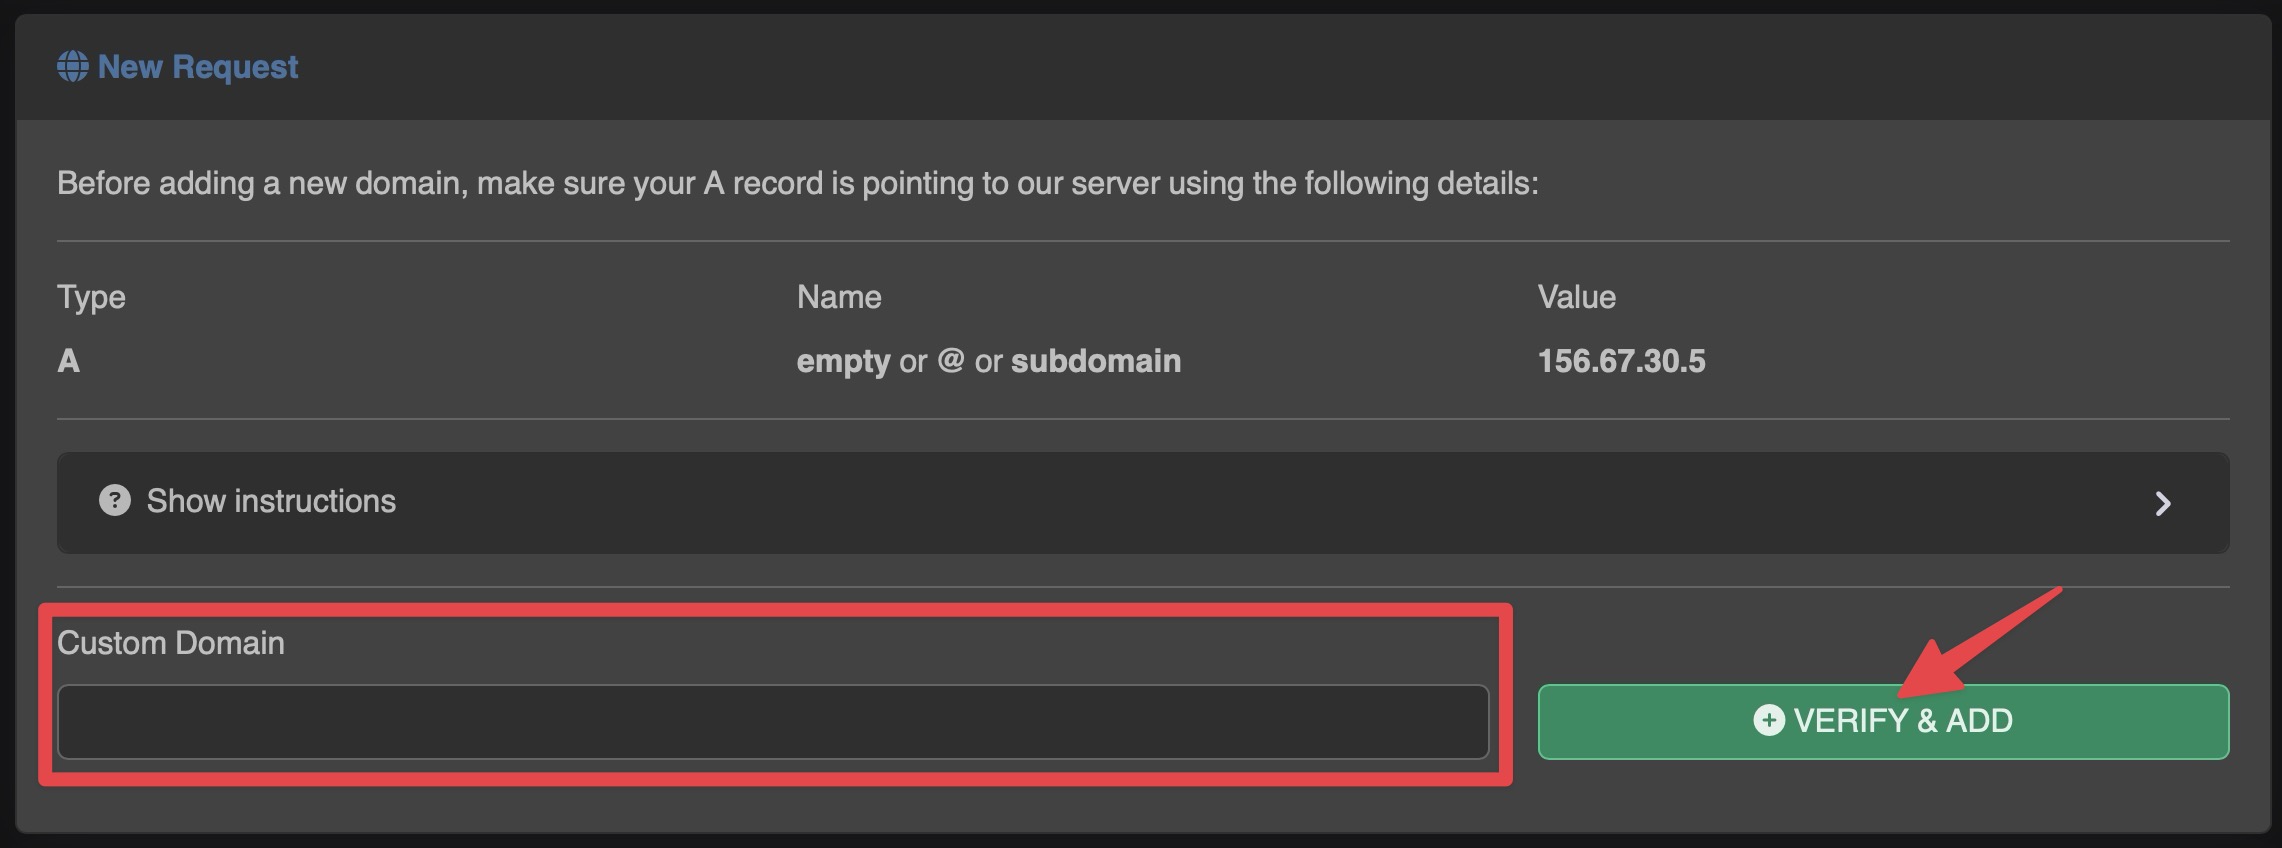
Before doing this, however, you must make sure that the new domain is set in the DNS pointing to the IP address written above with a type A record.
When the domain is verified you can add the request.
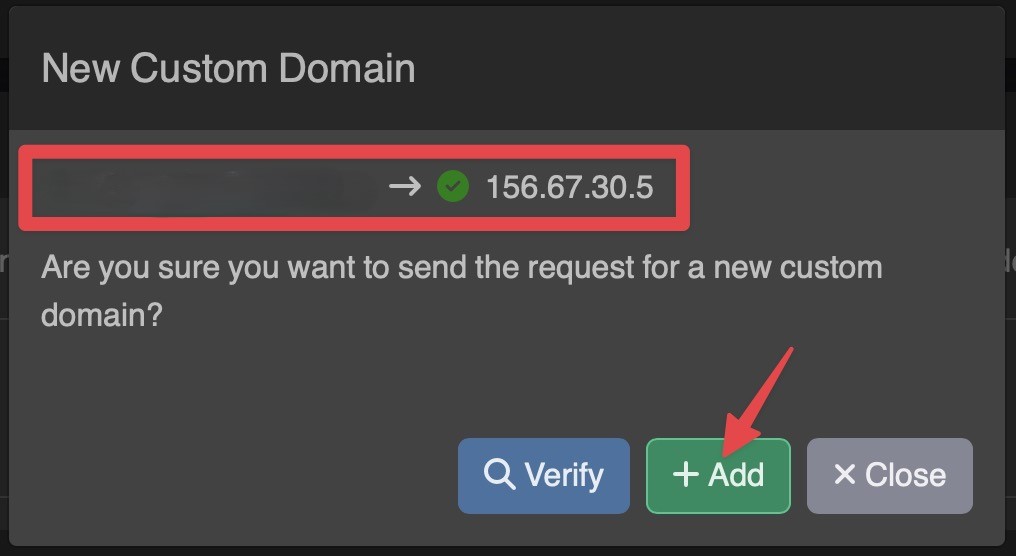
Now the request is added and is awaiting approval.
The administrator must click on the green button to approve it.
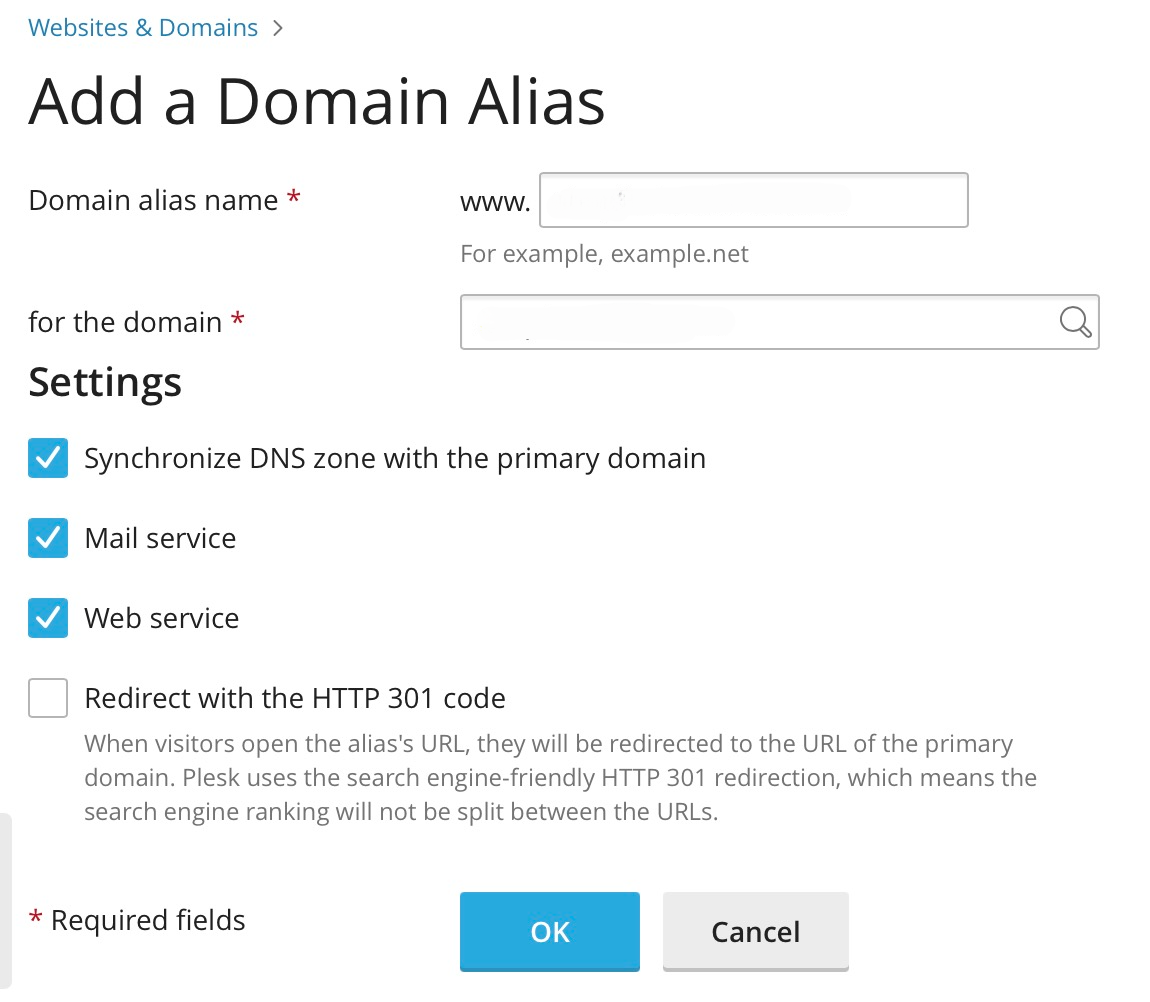
Before approving it, the administrator should add that domain alias that points to its main domain where the application is installed on its server panel. (This is an example on Plesk)
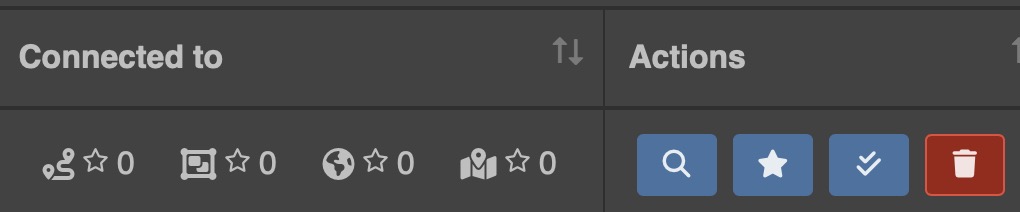
Once approved, you can perform the following actions:
- See how many elements it is connected to
- Check if the domain still points to the correct IP address of the server
- Set defaults: whenever content is created, it will be automatically associated with this domain
- Set massively: you can set the domain massively to existing elements
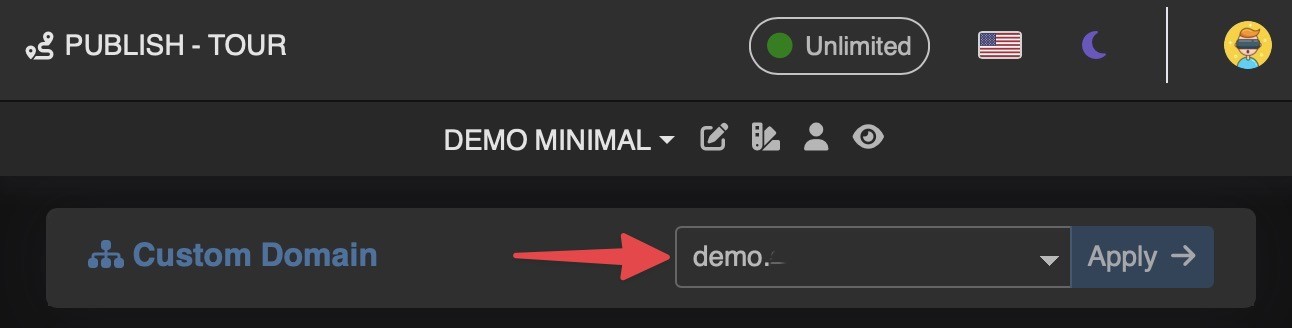
You can also link the custom domain in the publish sections of your various elements.