How to create a Video Project?
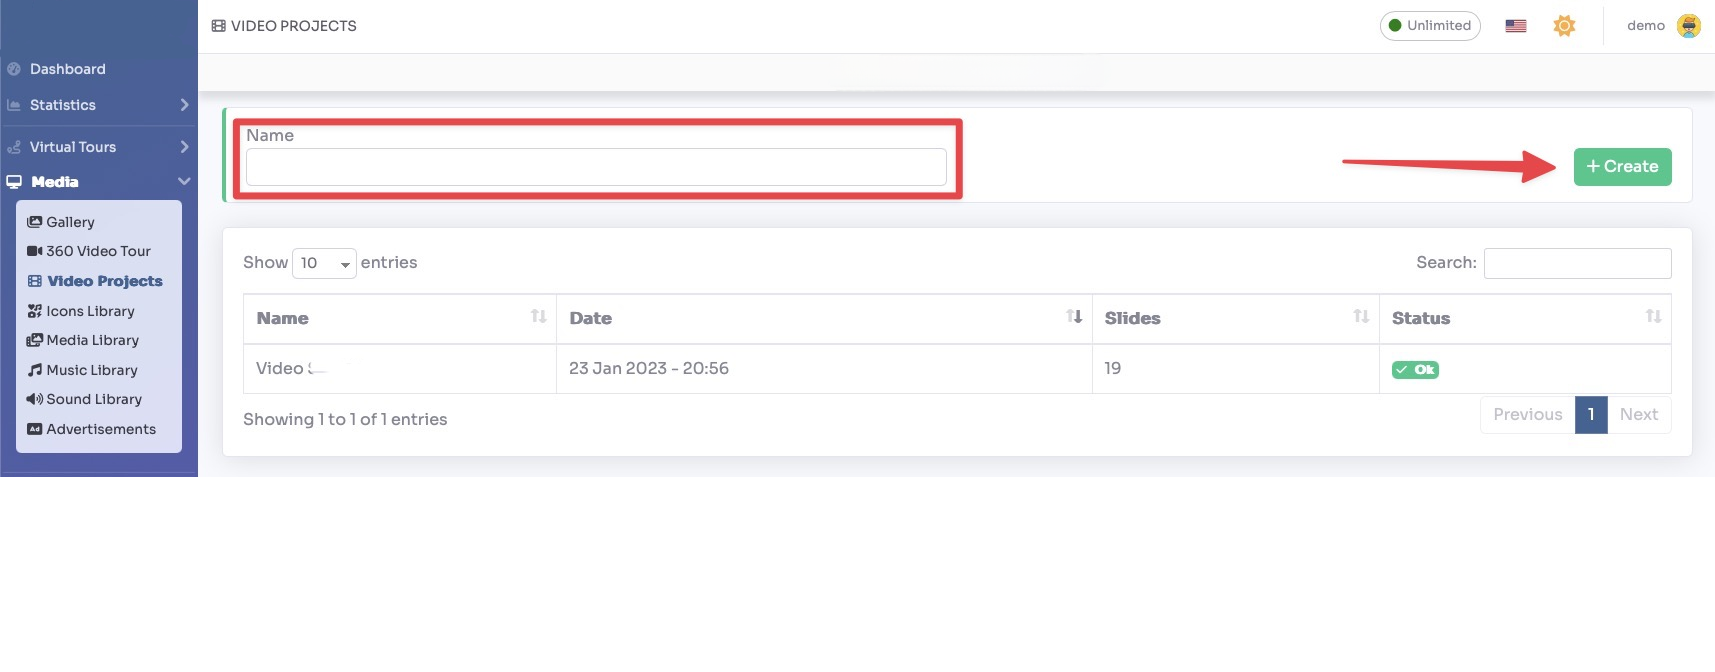
Select Render Walk → Video Projects, from side menu.
Enter the name of the project and click on the "+ Create" button.
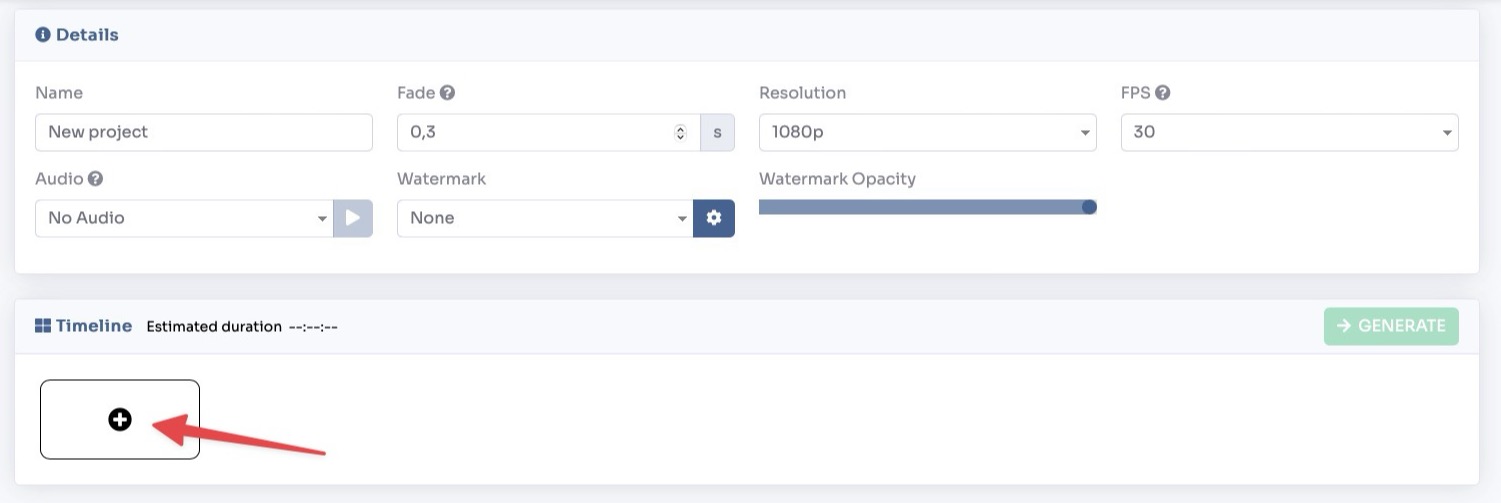
You will be redirected to the project page where you can change some general parameters, such as:
- Fade — Set the transition duration between one slide and another
- Resolution — Choose the resolution of the final video
- FPS — Set the frames per second of the final video
- Audio — Add a background audio
- Watermark — Add an image as a logo overlayed in a location of your choice
- Watermark Opacity — Set the transparency of the inserted logo
To add a new slide click on the "+" button in the timeline.
Choose the type of slide you want to add.

Logo + Text
This slide will contain a logo in the center with custom text underneath. You can customize the background color, text color, and its size.
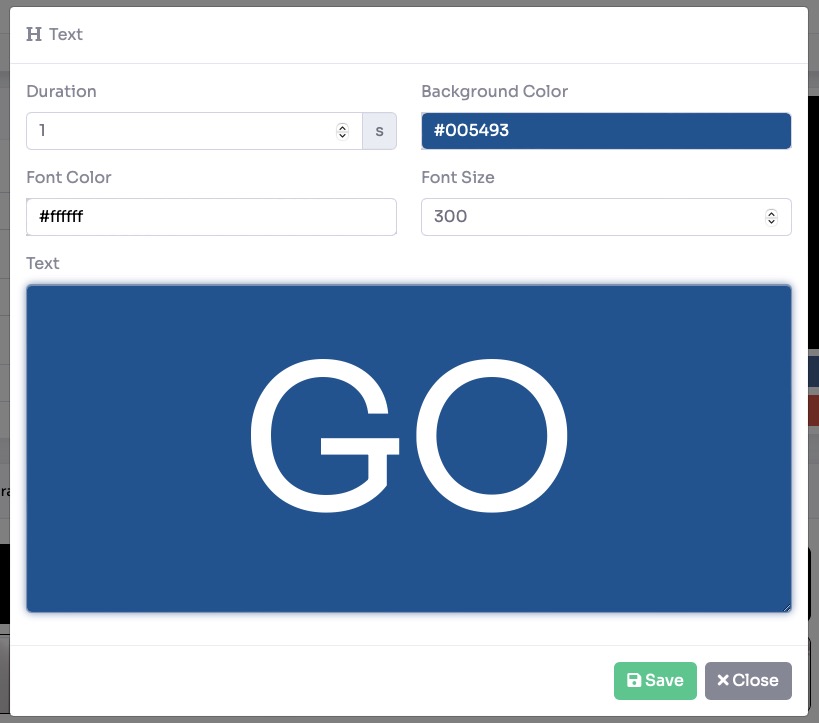
Text
This slide will contain a custom text in the center. You can customize the background color, text color, and its size.
Panorama
This slide will contain an animation of a panorama of the tour. To create the animation, select the start and end point of the panorama by clicking on the corresponding buttons.

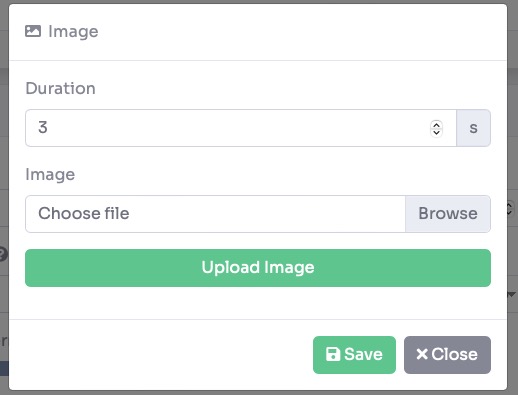
Image / Video
This slide will contain an uploaded image/video.
Once you have set all the slides and timeline click on the Generate button to create the video.