How to add Floorplans?
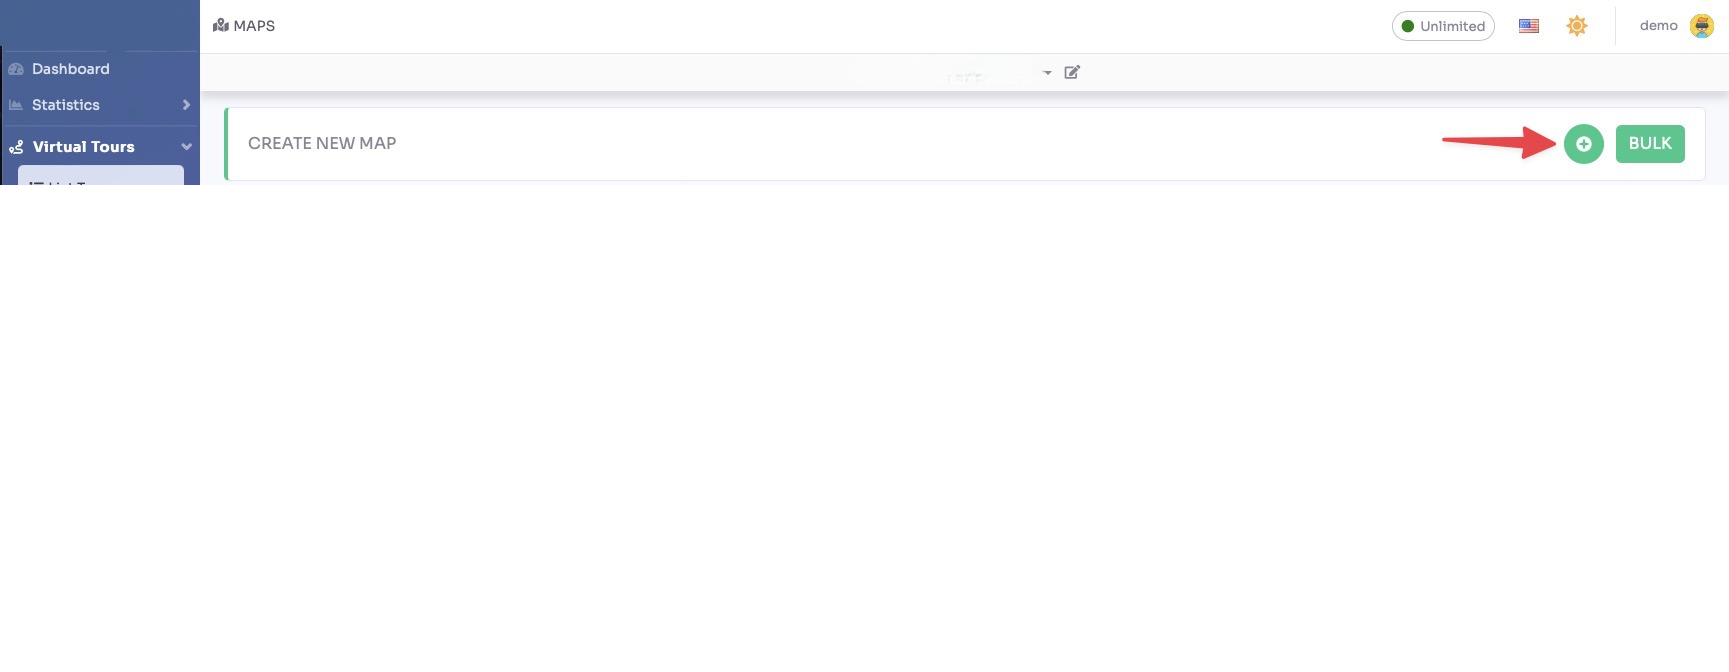
Select Render Walk → Maps, from the side menu.
Click on the "+" icon on the top right to create a new Floorplan.
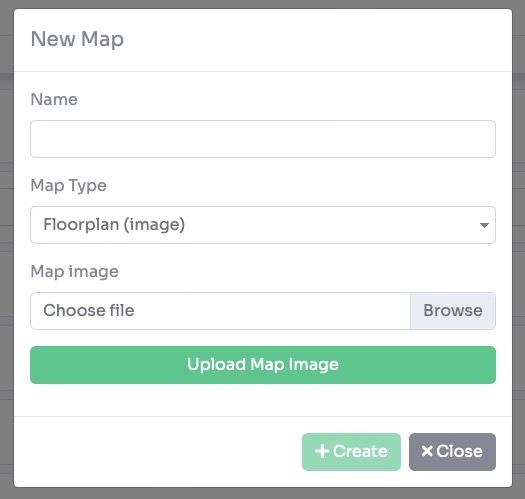
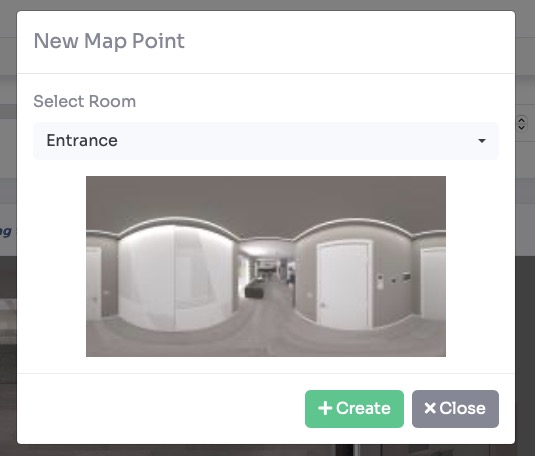
A pop-up appears. Fill in the following information:
- Name, enter the name of the floorplan (e.g. Ground Floor, Level 1)
- Type, select Floorplan from the dropdown
- Image, click Browse and select your floorplan image from your disk (JPG or PNG)
Click Upload to upload the image, then click "+ Create" to create the floorplan.
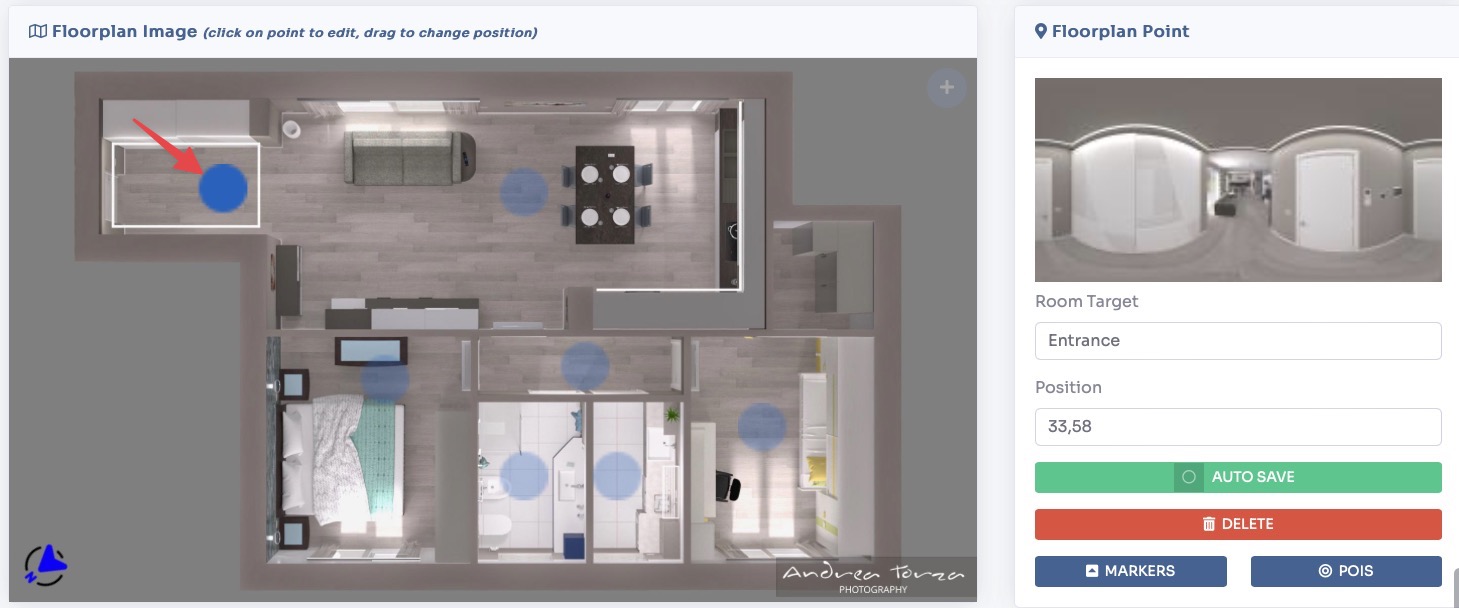
Once the floorplan is created, you will be taken to the floorplan editor. Your panorama rooms are listed on the right side panel.
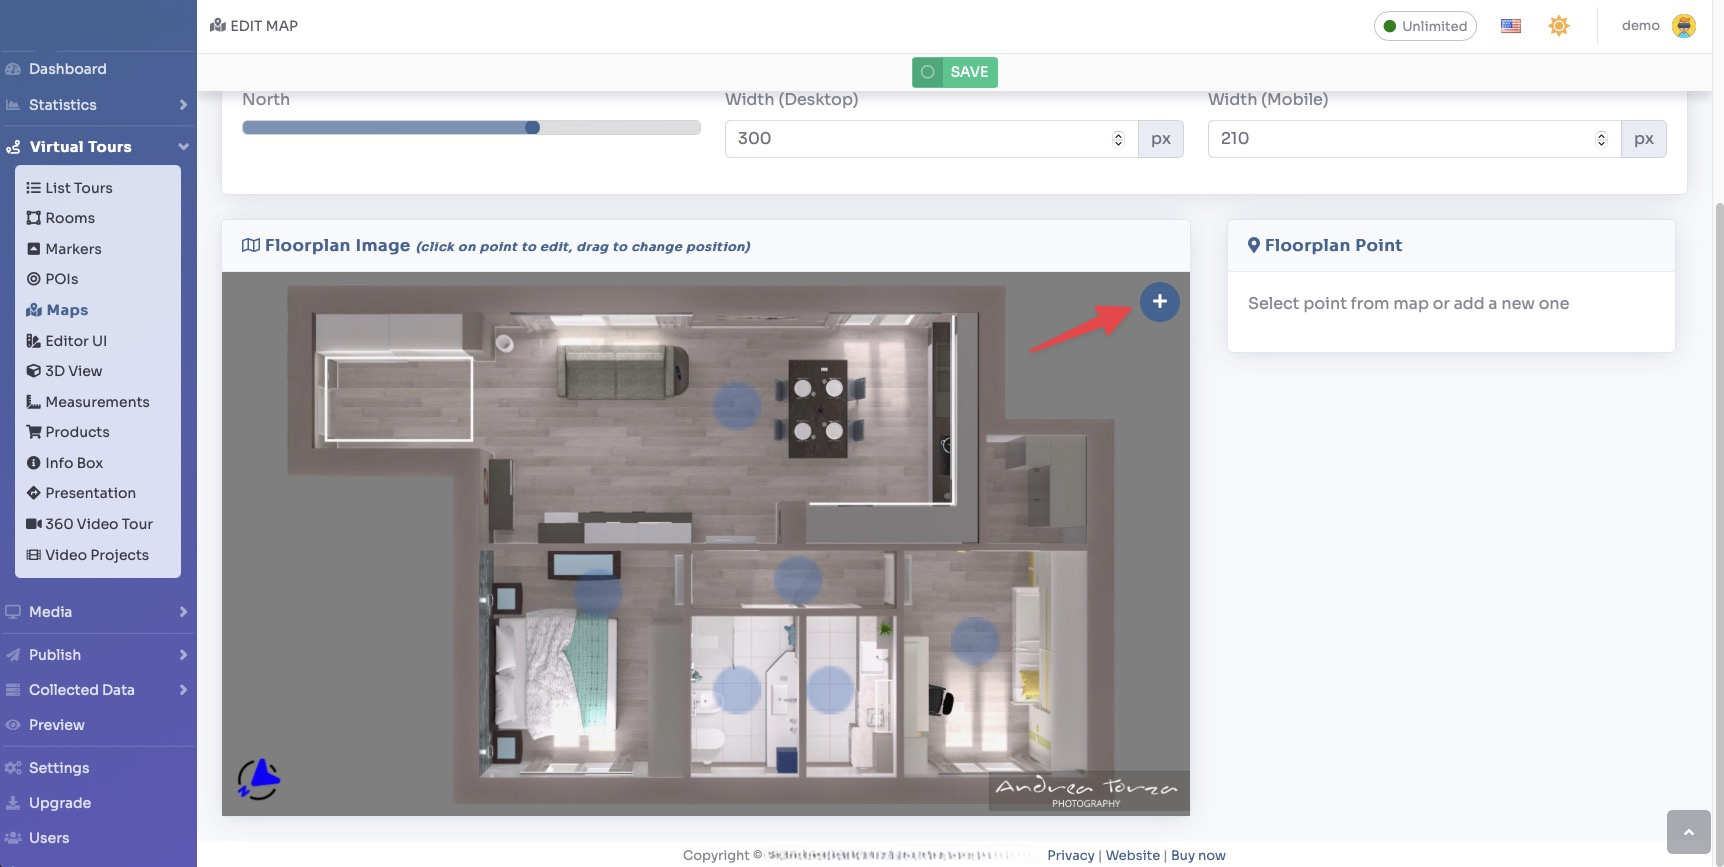
You need to assign each room a position on the floorplan. Click a room name in the right panel, then click the corresponding location on the floorplan image. A pin marker will be placed at that position.
Repeat this for all rooms. Pins can be dragged to reposition them at any time. Rooms that are placed on the floorplan will appear as interactive pins — visitors can click them to jump directly to that room during the tour.
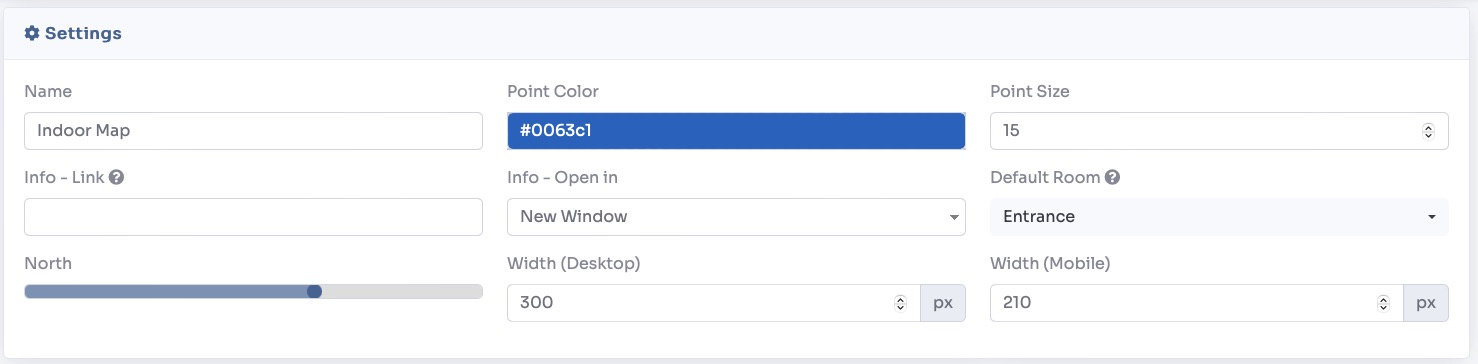
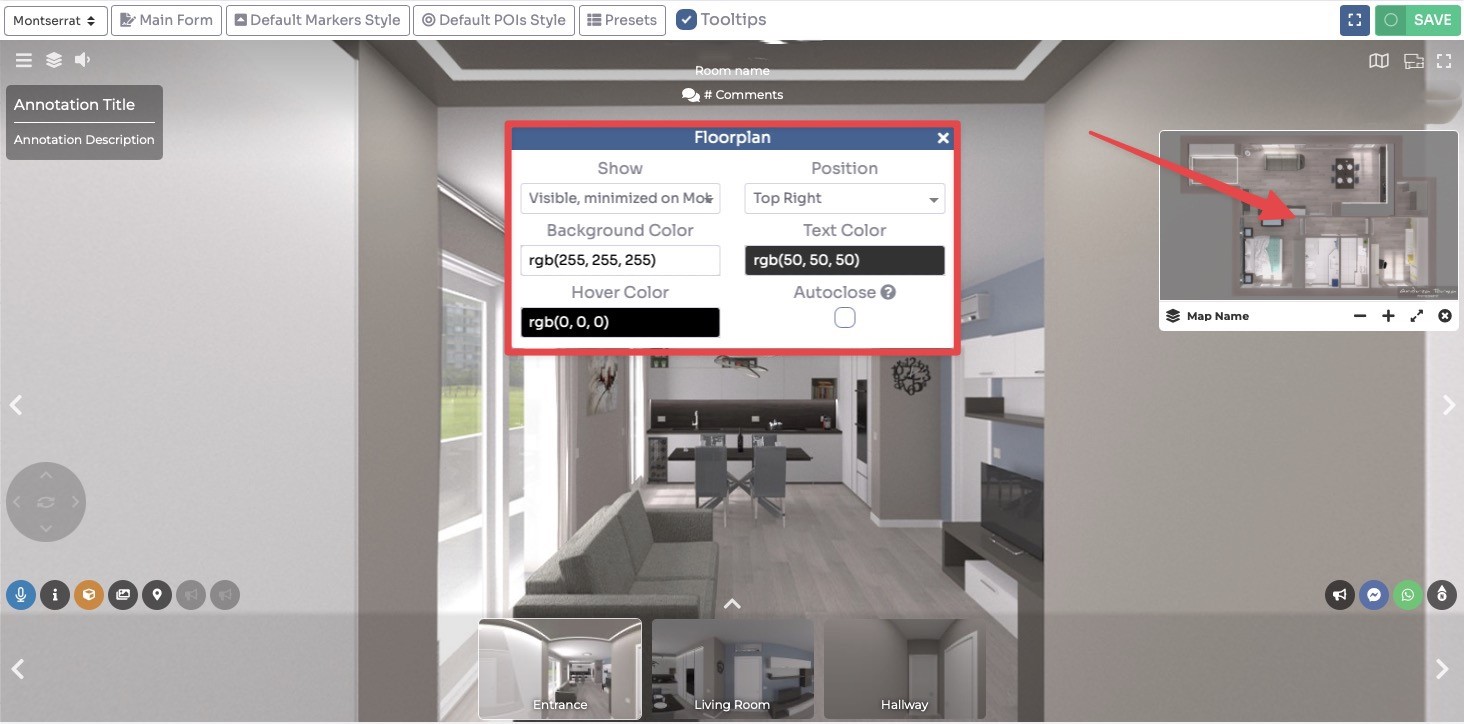
In the Settings tab you can control how the floorplan appears in the tour:
- Position, where the floorplan widget sits on screen (bottom-left, bottom-right, etc.)
- Default Open, whether the floorplan panel is expanded or collapsed when the tour first loads
- Show Room Name, displays the room name label beside each pin
- Highlight Current Room, automatically highlights the visitor's current room on the floorplan as they move through the tour
- Size, control the display size of the floorplan widget
You can also add multiple floorplans for multi-storey buildings — one per floor. Each floorplan appears as a selectable tab in the tour widget.
Click Save to apply all settings. The floorplan will now be visible inside your virtual tour, giving visitors an interactive map to navigate the space.
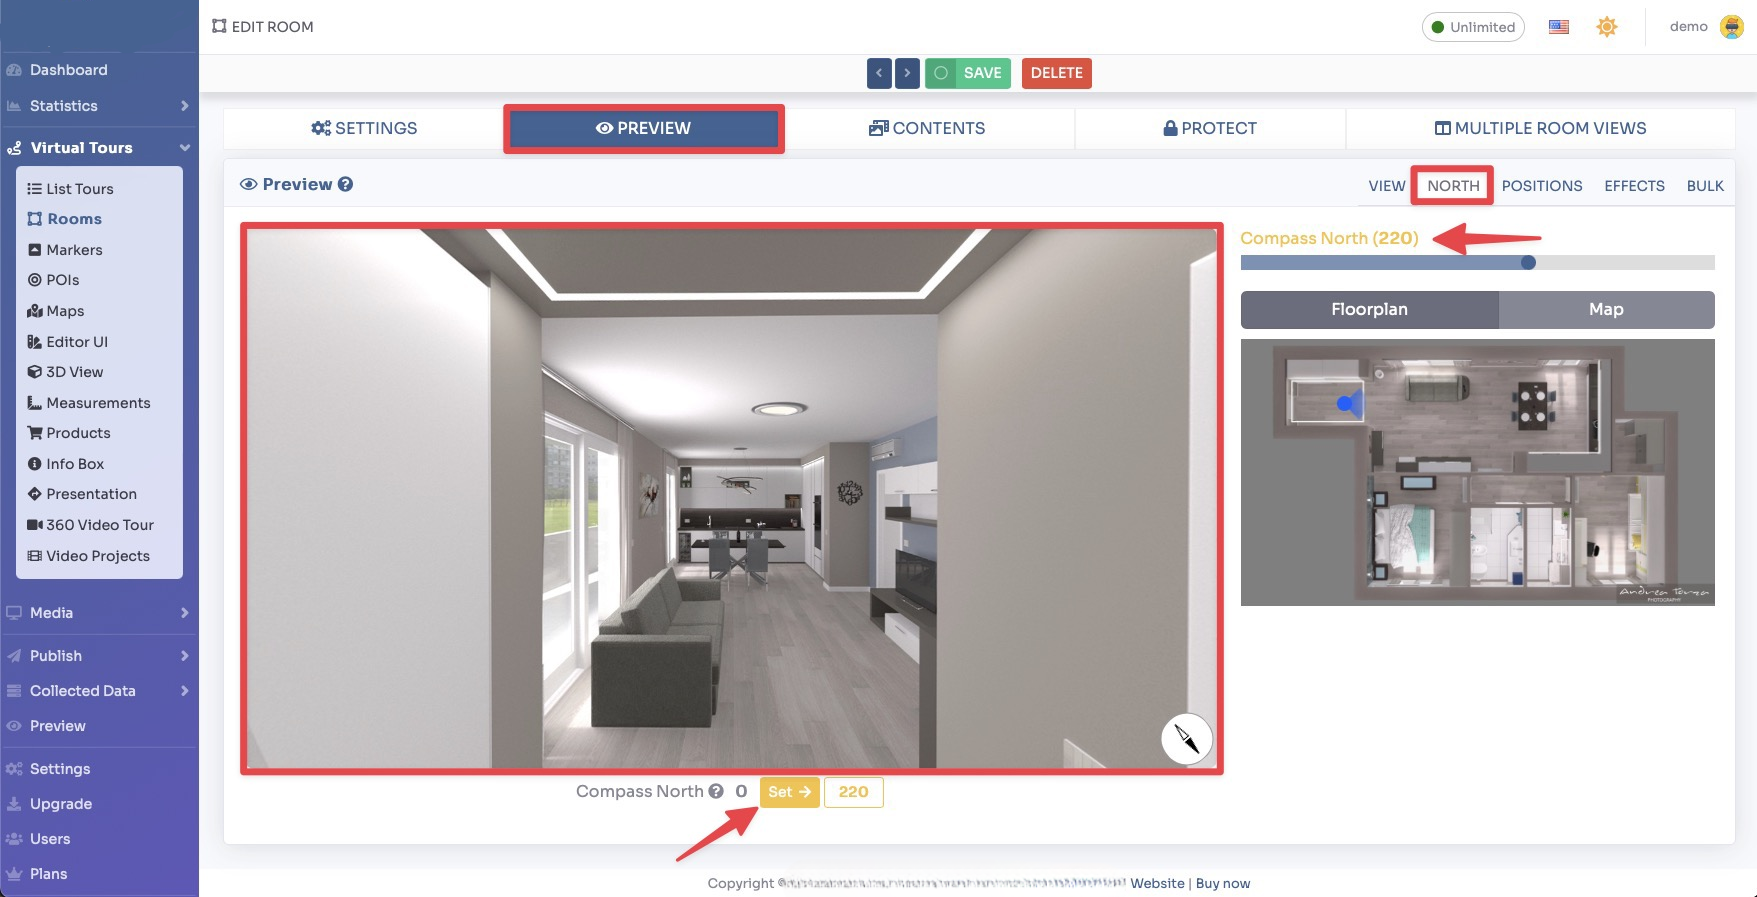
Click Save on top right corner of the page.
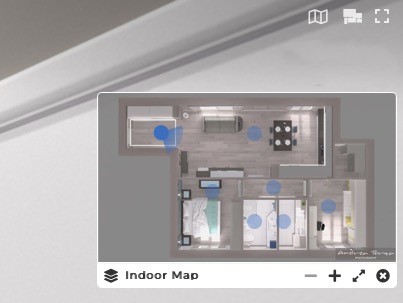
The floorplan will now be shown in the tour as follows: